

Microscopic research is a delicate field. Knowing how to analyze specimens and write relevant reports is just one part of the process.
Before you can get to that crucial step, you first have to have a perfectly prepared slide. Producing a high quality slide is more complex than you might think. Let’s look at the steps involved when converting a tissue sample into a professional level histology slide.
- Fixation of the tissue – This preparation step is crucial. When done correctly, it will prevent any tissue purification or autolysis. Biological tissue should be transferred into a 10% neutral buffered formalin fixative after collection. This should be done at a 10:1 ratio. For example: 10ml of formalin per 1cm3 of tissue. Most tissues will reach an adequate fixture within 24-48 hours. Cap your formalin container, assuring that it is leak-proof and correctly labeled.
- Transfer to cassette – Following successful fixation, trim your specimen using a scalpel, enabling the proper fit into the labeled cassette. It is important that it does not completely fill the cassette. Prevent this by trimming the specimen, which will help to avoid anything touching the edges. Keeping them nice and thin is also a priority, usually less than 4mm. This avoids waffling when the lid is closed. The cassettes can now be stored in formalin for processing.
- Tissue processing – Using paraffin wax, process the tissues into microscopic sections. First, dehydrate your specimen by immersing it in an increasing level of alcohol. This should remove any water or formalin from the tissue. Second, clear the specimen by using xylene to remove the alcohol concentration and allow paraffin infiltration. Third, embed your specimen in paraffin wax. This surrounds the tissue and creates the “block.” Once the block is solid, it will provide the support needed for sectioning.
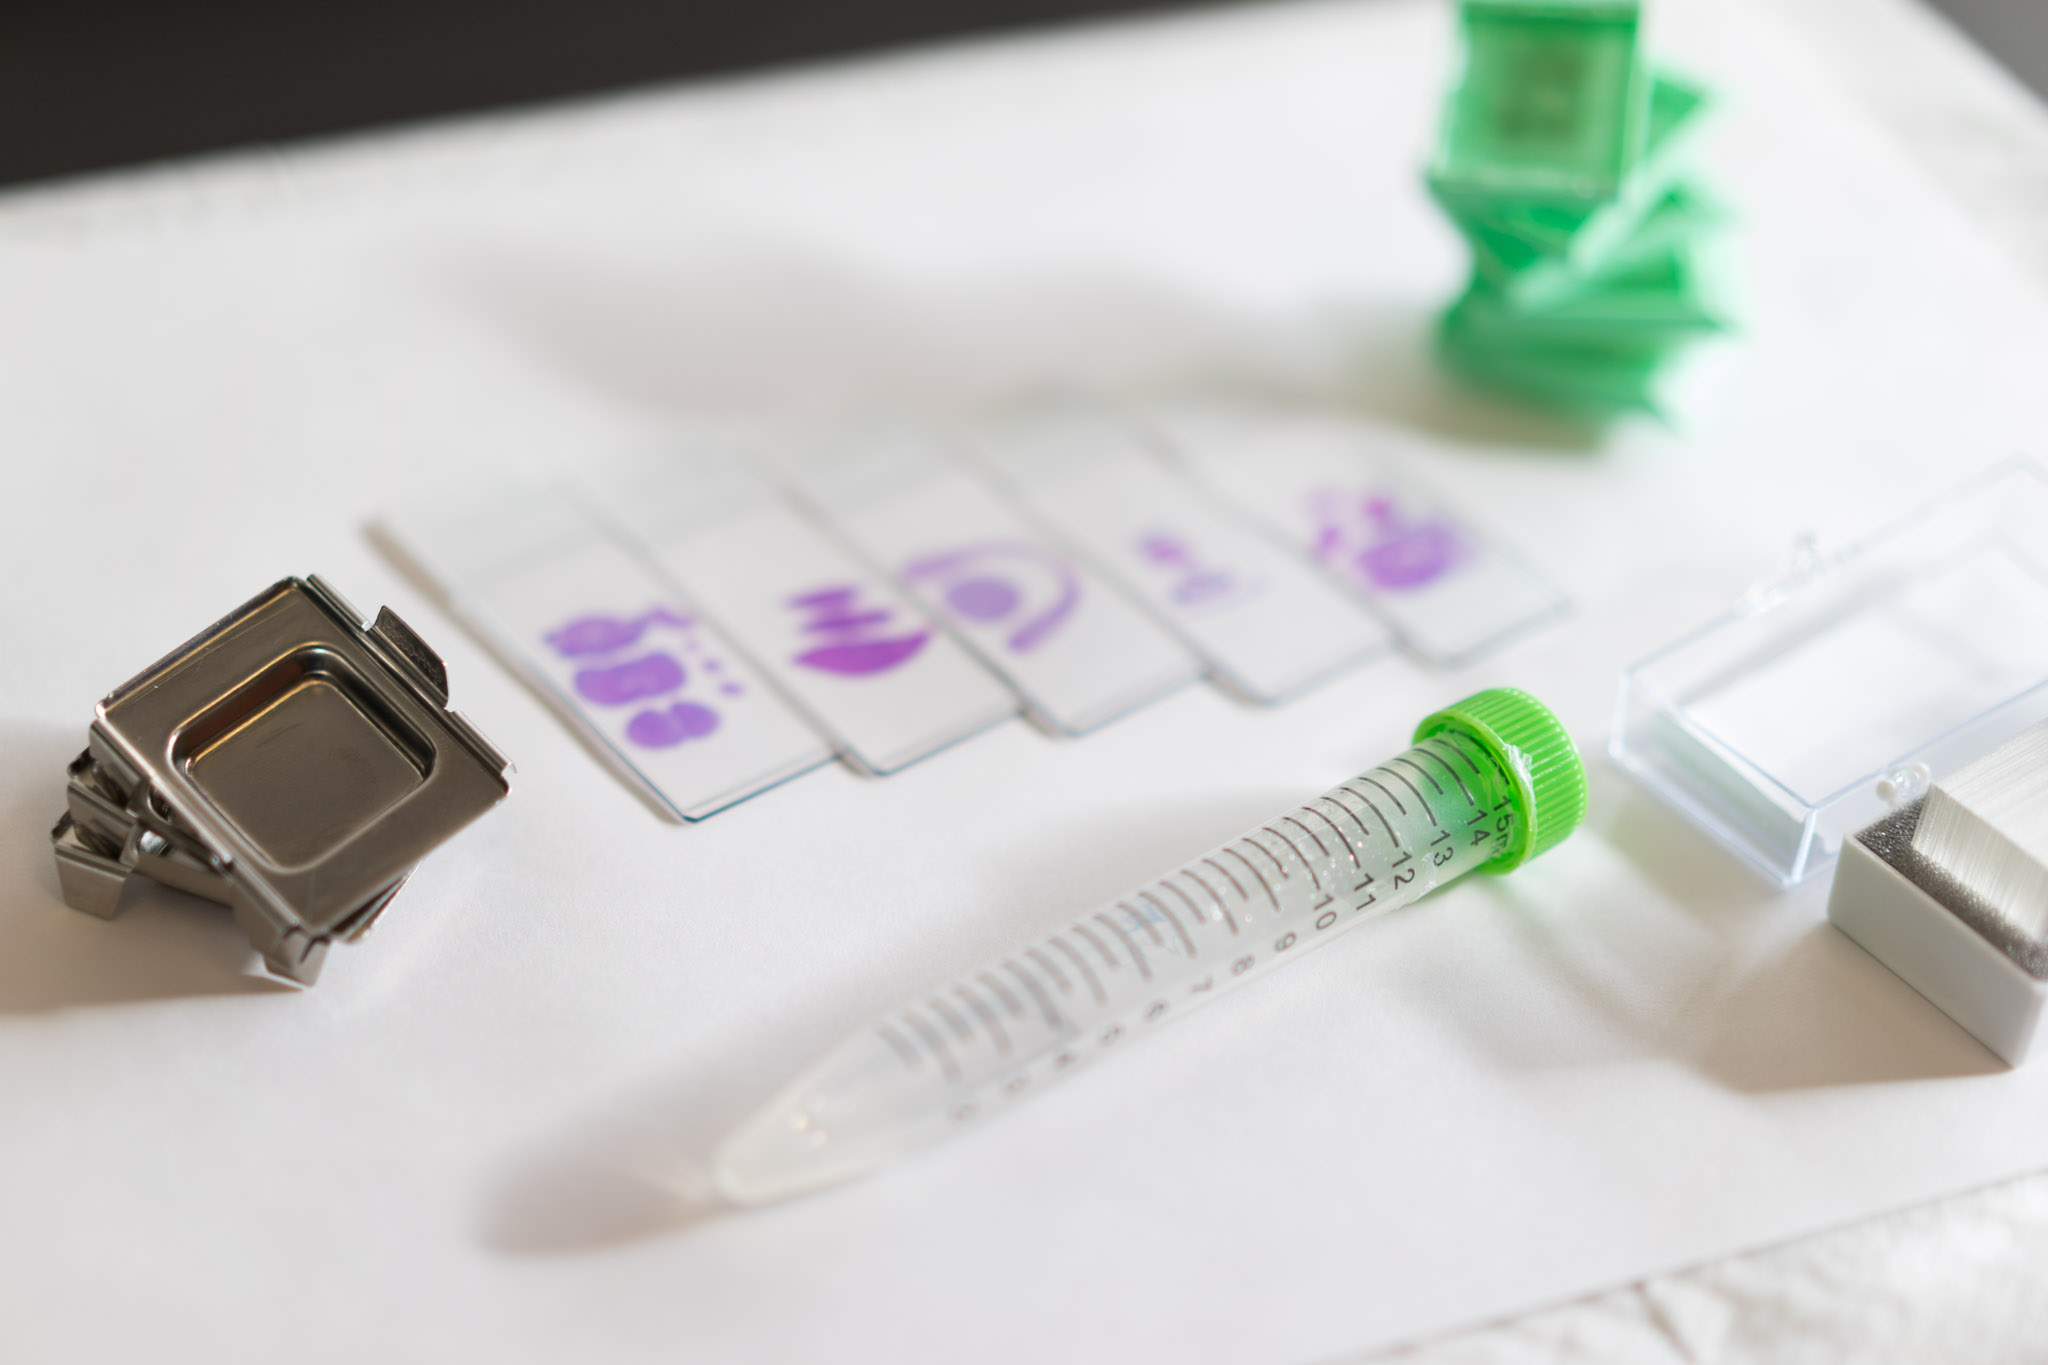
- Sectioning – The specimen is now ready cut into sections and placed on the slide. First, remove the wax from the surface until the tissue is exposed. Then, chill the block with refrigeration or ice for 10 minutes. Now, using a microtome slice extremely thin ribbons off of the block. Microtomes have variable settings but a standard setting is 5 µm. Next, carefully transfer your ribbons to a warm water bath, where they will float on the surface. Place a charged slide under the water level and scoop the ribbons onto the surface. Charged slides greatly improve tissue-to-glass adhesion. Finally, clearly label your slides and allow them to dry in an upright position at 37°C for a few hours. This will melt the excess wax and leave the tissue section intact.
- Staining – Since the majority of cells are transparent to the point of appearing colorless, you will need a good stain for contrast. In order to evaluate any tissue structure you need this increased visibility. A histochemical stain is used in this process, commonly hematoxylin and eosin. Once your staining is completed, you will want to attach a cover slip for long term protection.
Preparing a slide properly is a complex and exact process. As the above description illustrates, it requires a trained expert to do it properly.
At HSRL we offer a wide variety of laboratory services. Including: necropsy, histology, immunohistochemistry, morphometry/image analysis, whole slide scanning, pathology and long term specimen storage. Our facility routinely works with contract research organizations, drug discovery, biotechnology, medical device and pharmaceuticals companies, clinics, academic institutions and government agencies.
Our team of trained experts, of course, consists of qualified lab technicians, specimen storage professionals, a trained necropsy team, 5 Pathologists and a quality assurance unit. If you are looking to outsource your project, Contact us today.
